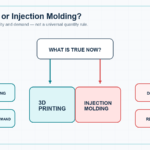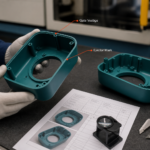
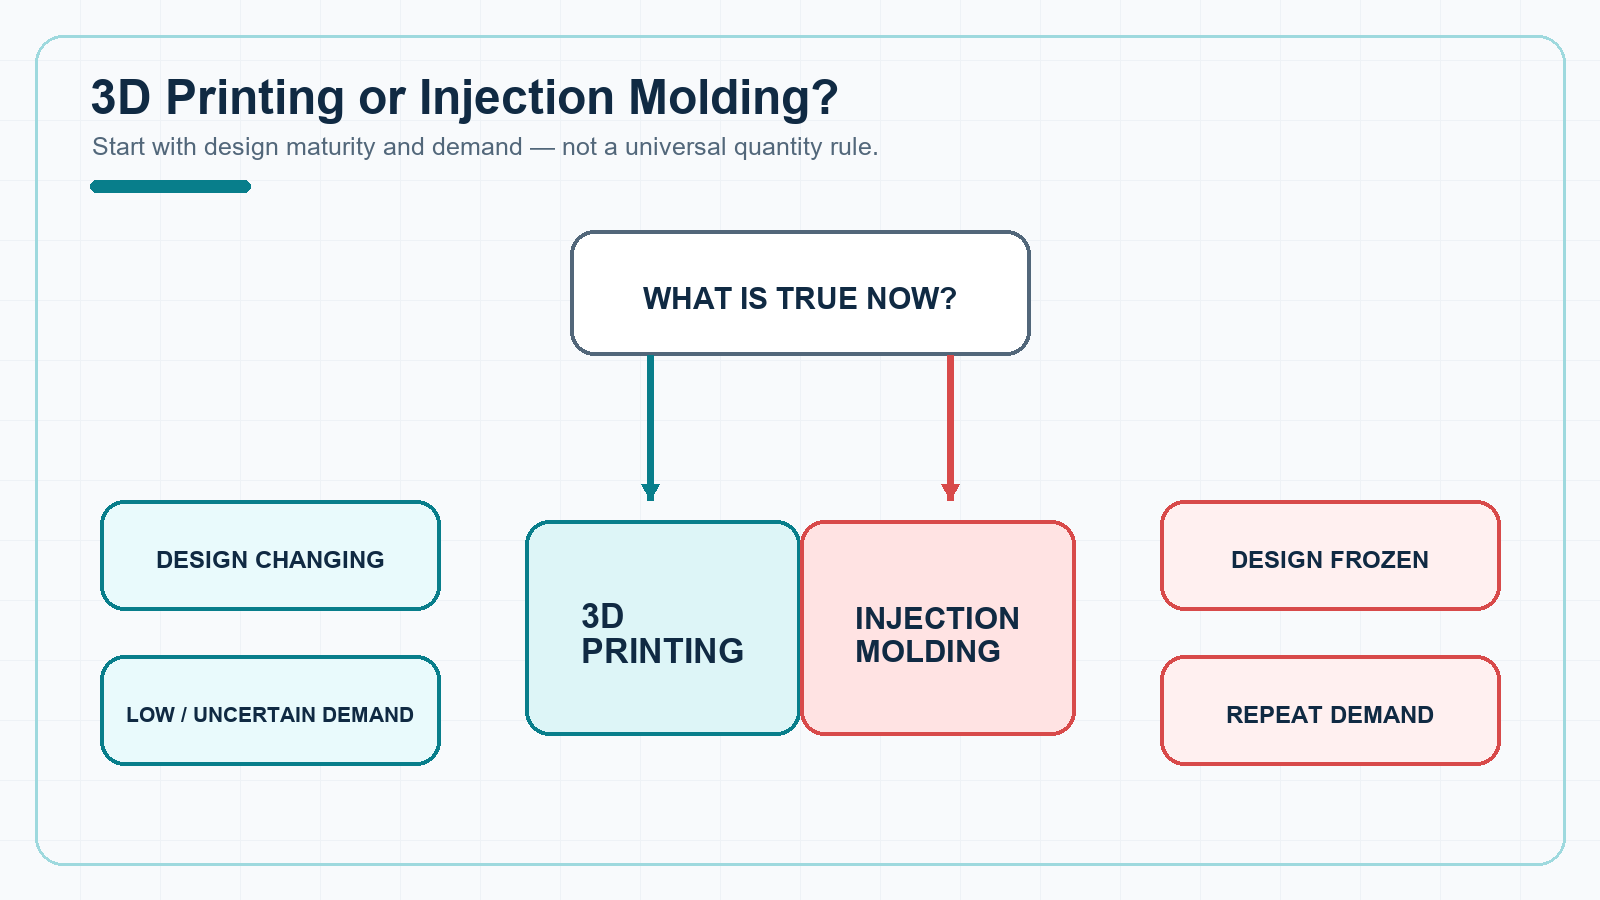
3D printing usually fits better when the design is still changing, quantities are low, or individual parts must vary. Injection molding usually becomes more economical when the design is stable, demand is repeatable, and enough parts can absorb the tooling investment.
There is no universal quantity at which one process automatically wins. The decision depends on your tooling cost, unit economics, probability of design changes, quality requirements, and delivery plan.
A quick comparison
| Decision factor | 3D printing | Injection molding |
|---|---|---|
| Upfront investment | Usually no production mold | Usually requires tool design, construction, and trials |
| Unit economics | Limited cost reduction as volume rises | Better suited to repeat production after tooling is amortized |
| Design changes | Revise the file and make another build | May require tool modification or replacement |
| Time to first parts | Useful for fast initial quantities | First parts depend on the tooling program |
| Geometric freedom | Supports internal channels, lattices, and customization | Must account for release, wall thickness, gates, and ejection |
| Material and surface | Depends on printing process and post-processing | Uses molding grades and repeatedly copies the mold surface |
| Repeatability | Influenced by orientation, machine, and finishing | Supports repeat production within a controlled process window |
Calculate the cost crossover instead of guessing it
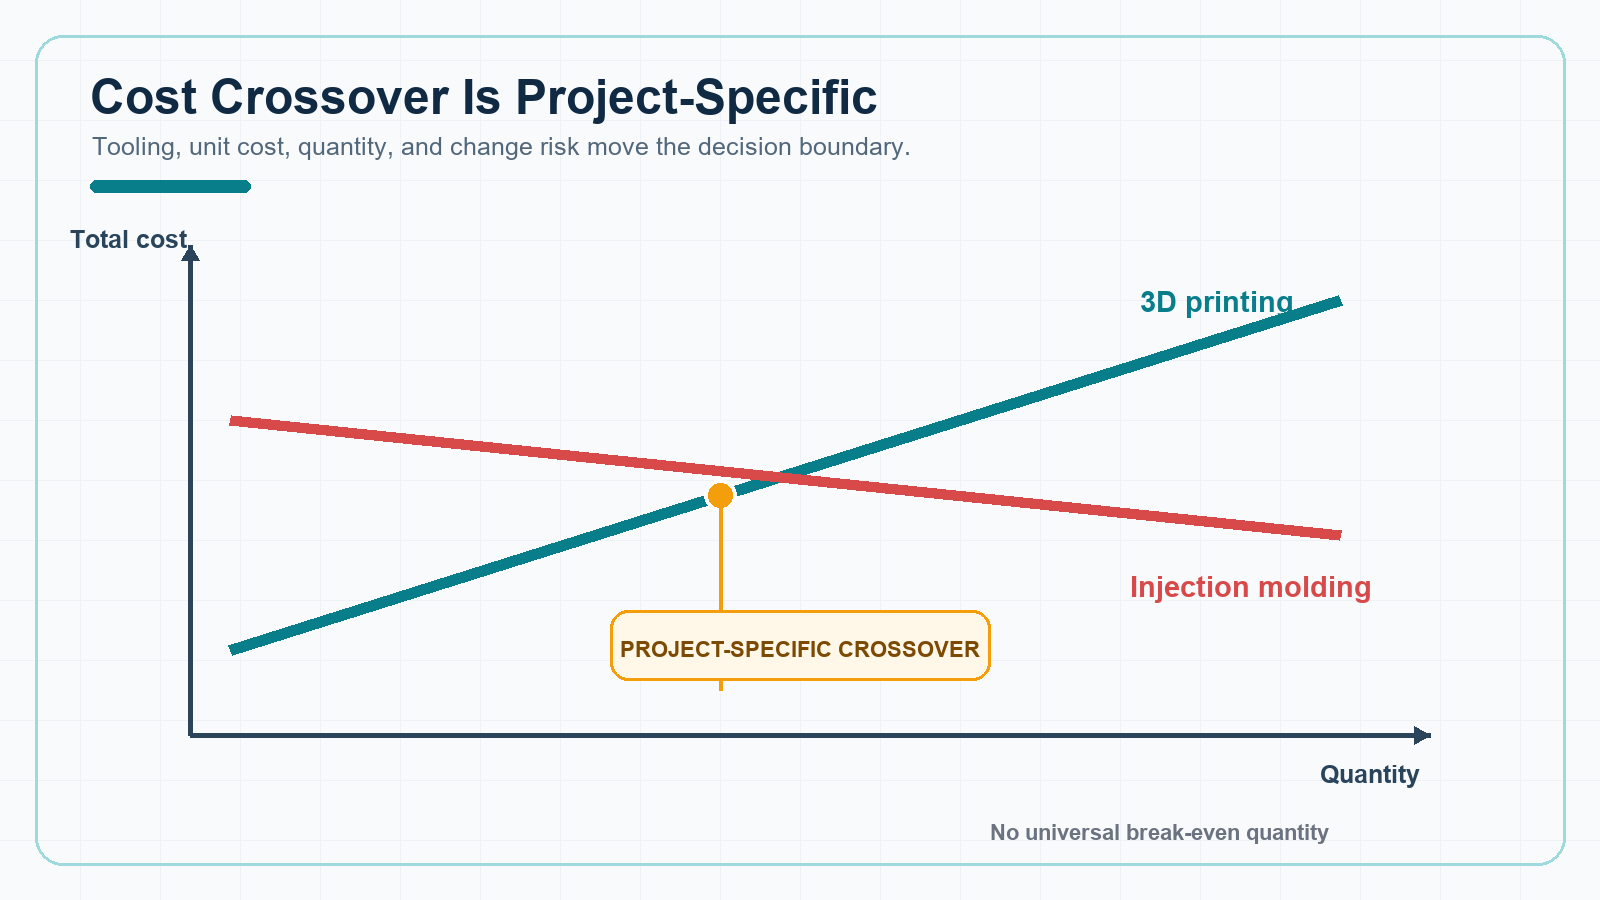
Avoid rules such as “injection molding always wins above a certain quantity.” Start with two simplified cost models:
Injection molding total = tooling and trials + molded unit cost × quantity
3D printing total = print preparation + printed unit cost × quantity
When the printed unit cost is higher than the molded unit cost, the theoretical break-even quantity is:
Q* = (tooling and trials − print preparation) ÷ (printed unit cost − molded unit cost)
This number is only the first financial boundary. If the design is not frozen, include the probability and cost of tool changes. Also consider inventory exposure, demand uncertainty, inspection, finishing, and logistics. A molding quote with a lower projected total can become the more expensive route if the tool needs a major revision after validation.
Choose 3D printing when learning speed matters more than unit cost
The design is still moving
Revising CAD and making another build is generally more direct than modifying a production mold. This makes 3D printing useful for form studies, assembly checks, user trials, and early functional iterations.
Demand is low or uncertain
When too few parts exist to absorb tooling cost, printing reduces the upfront commitment. It can also support on-demand spares and products with multiple variants.
The geometry is difficult to release from a mold
Internal passages, complex lattices, consolidated assemblies, and customized structures may favor additive manufacturing. “Printable” does not mean unconstrained, however. Build orientation, supports, warpage, minimum features, and post-processing still affect the result.
Choose injection molding when the design and demand are stable
Repeat production can absorb the tool
A stable design and predictable demand allow tooling investment to be spread across repeat orders. As volume grows, molding typically offers a more favorable unit-cost and cycle-time structure.
The surface and details must repeat consistently
Once the mold surface, texture, and process are established, they can be reproduced across production. Cosmetic acceptance should still define color, gloss, weld lines, flow marks, and an approved reference rather than using a vague requirement such as “good appearance.”
The part needs a specific molding-grade resin
Printing and molding materials may carry similar family names without delivering identical behavior. Compare the actual grade, process direction, void structure, post-processed state, and service environment—not just a label such as ABS or nylon.
A print-first, mold-later route can be the better answer
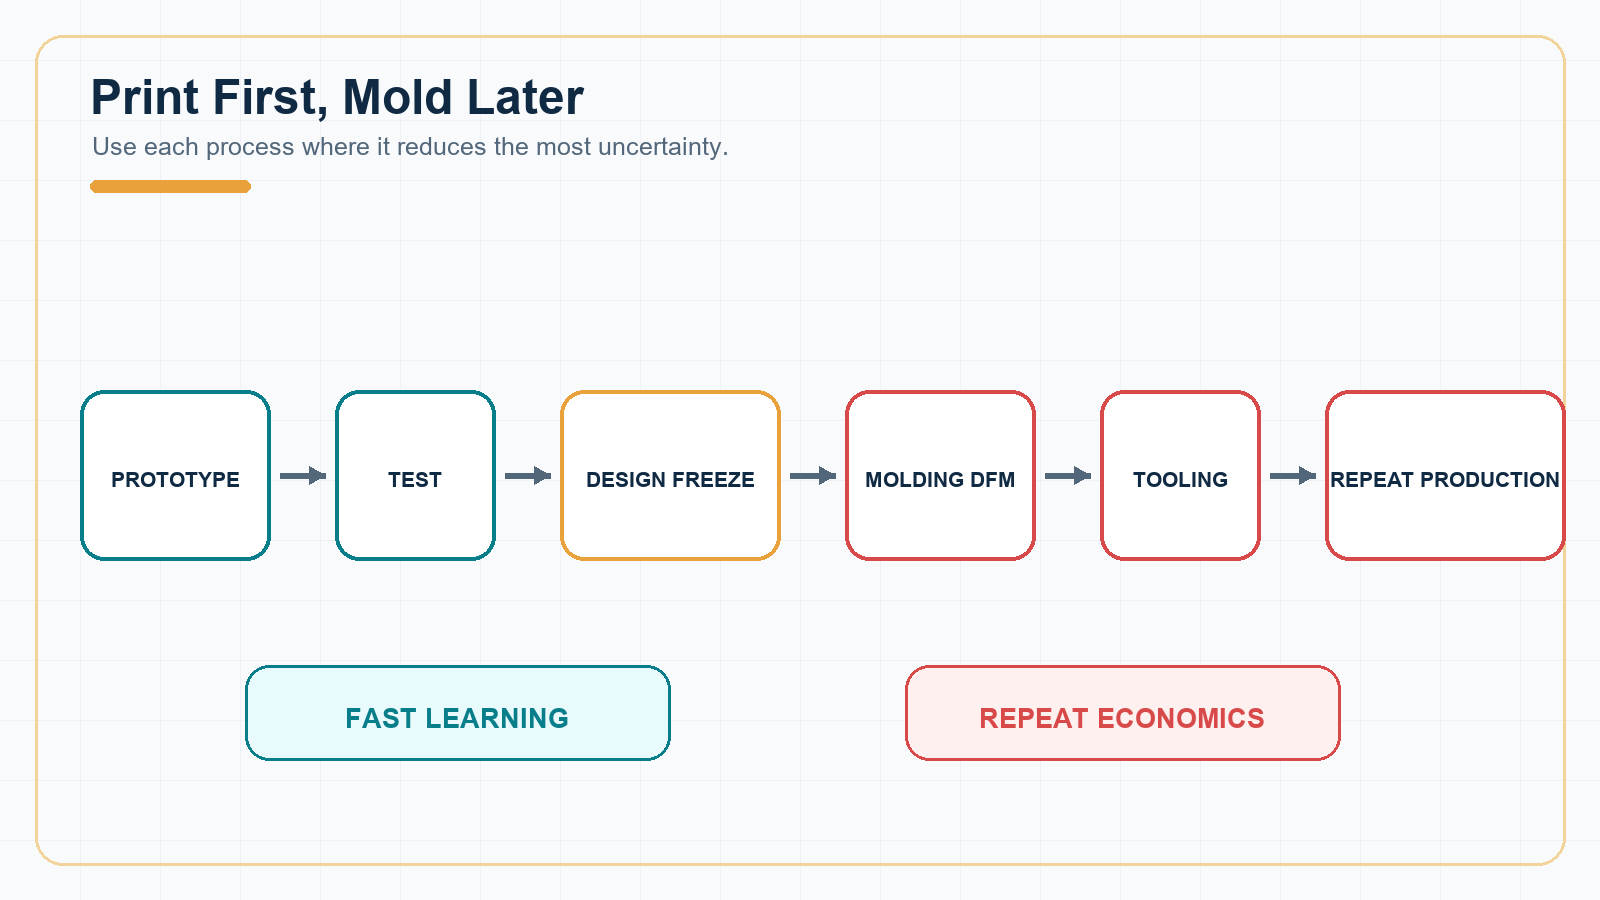
Many programs use 3D printing to validate form and assembly, then move to injection molding after design freeze. The printed prototype should not be treated as a performance promise for the molded part. Before tooling, review wall thickness, draft, radii, undercuts, gates, ejection, shrinkage, and warpage for the molding process.
A staged route separates fast learning from production economics:
- Print early parts to expose assembly and use problems.
- Freeze critical interfaces and acceptance requirements.
- Complete injection-molding DFM and define the tool concept.
- Validate dimensions, appearance, and function with trial parts.
- Release repeat production against approved criteria.
Prepare comparable inputs before requesting quotes
For either route, provide 3D CAD, critical dimensions, material or performance requirements, quantity, service environment, cosmetic zones, and timing. For printing, define orientation sensitivity, support marks, and finishing. For molding, add annual demand, program life, color, texture, and tooling-ownership requirements.
Frequently asked questions
At what quantity does 3D printing become more expensive than injection molding?
There is no universal quantity. The crossover depends on part size, printing process, resin, tool complexity, cavity count, quality requirements, and the two unit costs. Use project-specific quotes in the break-even equation.
Can a 3D-printed part use the same plastic as an injection-molded part?
The material family name may be the same, but processing changes orientation, porosity, surface, and performance. Compare the specific grade, process condition, and test condition rather than the family name alone.
Can 3D printing replace an injection-molding trial?
A printed part can validate form, assembly, and some functions, but it does not fully predict melt flow, shrinkage, weld lines, ejection, or molding warpage. It reduces early design risk; it does not remove every tooling trial.
Can tooling begin before the design is frozen?
It can, but the commercial impact of changes rises sharply. If interfaces, wall thicknesses, undercuts, or cosmetic surfaces may still change, print validation is usually the lower-commitment step. If schedule pressure requires parallel work, define the freeze point and change responsibility in advance.
Compare both routes with real project data
If your design still needs physical validation, review the PlasticHubs plastic 3D printing service. To compare a print-to-mold transition, send CAD, material, quantity, and target timing through the PlasticHubs contact page so both routes can be considered against the same project scope.